After years of gardening, I can tell you this for certain: a planting plan is worth its weight in gold. The time to make one is before spring rolls in—not when…
After years of gardening, I can tell you this for certain: a planting plan is worth its weight in gold. The time to make one is before spring rolls in—not when you're standing in the garden center staring at seed packets. It doesn't need to be fancy, but having a roadmap early on keeps the whole season running smoothly. Here are five strategies I rely on to kick off spring the right way:
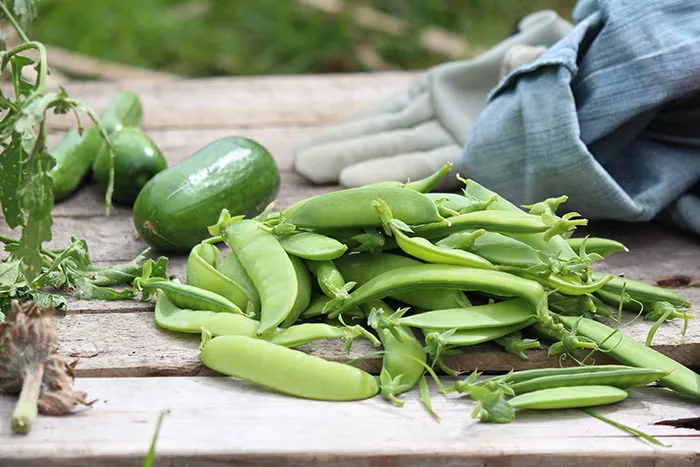
Running 30 raised beds means I can't afford to wing it—if I want to squeeze every last harvest out of my space, organization is non-negotiable. There are plenty of ways to track your plantings, but my go-to method is sketching a simple map of all my beds and labeling each one with what I plan to grow there.
Take one of my beds, for instance: it might kick off with a spring crop of lettuces, then transition to bush beans seeded in early summer, and finish the season with cabbage seedlings tucked in midsummer for a fall harvest.
That visual map is what keeps me sane—I can see the whole season at a glance. But if sketching isn't your thing, plenty of gardeners swear by spreadsheets or a trusty garden journal to stay on top of things.
2. Remember to Rotate Crops
Whenever I sit down to plan, crop rotation is always on my mind. Rotating crops on a three- or four-year cycle is one of the simplest ways to stay ahead of pests and diseases, and it keeps your soil from getting drained of the same nutrients year after year.
Here's my trick for keeping rotation simple: I group everything by plant family. Makes sense when you think about it—related crops tend to attract the same pests and pull the same nutrients from the soil. Shifting each family to a fresh spot each year does wonders for both your plants and your soil.
Got three or more raised beds? Just rotate families from bed to bed. Growing in rows? Shift each family down a row each season. The golden rule is to let three or four years pass before any family returns to the same piece of ground.
Don't let a small garden stop you from rotating—even a four-by-eight-foot raised bed can be split in half, with a few nearby containers adding more growing room. Rotate families through those spaces just like you would in a bigger garden.
Here are some common vegetables and the families to which they belong:
Solanaceae: tomatoes, peppers, potatoes, eggplants
Amaryllidaceae: onions, leeks, garlic
Brassicaceae: cabbage, broccoli, cauliflower, kale
Cucurbitaceae: cucumbers, melons, gourds, squash, pumpkins
Fabaceae: peas, beans
Chenopodiaceae: spinach, beets, chard
Asteraceae: lettuce, endive, artichoke
3. Choose How You'll Start Vegetables
When it comes to getting plants into the ground, you've basically got two options: direct-seed or set out transplants. Those transplants might be seedlings you started on your windowsill or ones you picked up at the garden center. I use both methods in my garden, choosing based on what works best for each particular crop.
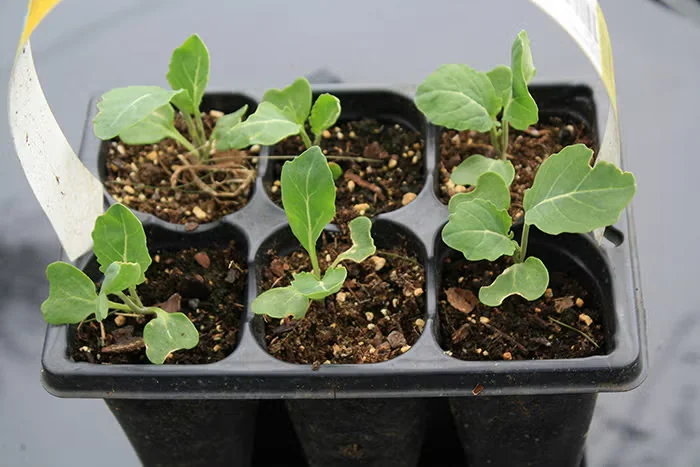
Some crops just hate being moved—root veggies and the cucumber family are notorious for it. Those go straight into the ground as seeds. I also direct-sow quick salad greens like leaf lettuce, arugula, and spinach because they go from seed to plate so fast it hardly seems worth starting them indoors.
Long-season crops like tomatoes, onions, and peppers? Those definitely go in as transplants. Giving them a head start indoors is especially crucial if you garden in a short-season area where every warm day counts.
4. Space Plants Right, and Mind Their Depth
Alright, we've covered what to plant—now let's talk spacing. Every veggie has its sweet spot when it comes to how far apart it wants to be. The trick is packing in as much as you can without cramping anyone's style. Crowd your plants and you're asking for poor airflow and disease problems. Space them too far apart and you're basically rolling out the welcome mat for weeds.
Seed packets, plant tags, and catalogs all spell out the ideal spacing for each variety—take that advice to heart. Those numbers come from folks who've grown these crops more times than they can count.
And remember, spacing changes depending on whether you're seeding or transplanting. Seeds go in closer because you'll thin them once the seedlings are up and growing. Transplants, though, go right in at their final recommended spacing—no thinning needed.
Lettuce is a good example: I sow seeds about two inches apart, then come back and thin the seedlings so the survivors have ten inches between them—just right for plumping up into full heads. But when I'm transplanting lettuce seedlings, I just go ahead and space them ten inches apart from the start.
Spacing gets a lot of attention, but planting depth matters just as much. Bury a seed too deep and it might never push through; set it too shallow and it could dry out before it ever gets going.
The old rule of thumb still holds: plant a seed at a depth roughly twice its diameter. So if you're holding a bean seed that's about half an inch across, it goes in the ground about one inch deep.
With transplants, most seedlings go in at the same depth they were growing in their pots or cell packs. The one big exception? Tomatoes. They'll grow roots right along the stem, so I plant them deep—burying the bottom two-thirds of the stem. It sounds drastic, but those buried stems turn into a powerhouse root system.
One last thing: always give the bed a good, deep watering right after seeding or transplanting. Don't skip this step—it makes all the difference.
5. Plan for Weather Worries
If there's one guarantee in the spring garden, it's that the weather will keep you guessing. Temperature roller coasters, surprise frosts, drenching downpours, even the odd late snow—any of these can throw a wrench in your planting plans. That's why I always have protective covers at the ready, prepared to shield tender crops from whatever Mother Nature dishes out (and from pests, too).
Cool-season crops—lettuce, cabbage, spinach, beets, carrots, peas, onions—can go in as soon as the soil has thawed in early spring. To give them a leg up, I rely on row covers, mini hoop tunnels, and cloches. These same covers are lifesavers for heat-lovers like tomatoes, melons, and cucumbers if temperatures dip unexpectedly after planting. Once the weather settles and frost is just a memory, take the covers off and let those plants soak up the sunshine.
More from Vegetable
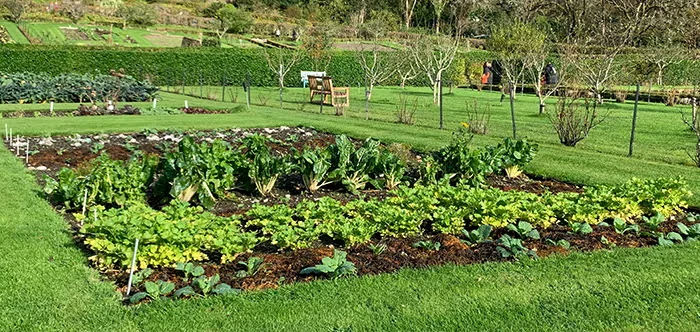
5 Techniques for Growing a Vegetable Garden
Whether you're breaking ground on your very first vegetable garden this spring or thinking about expanding the one you already…
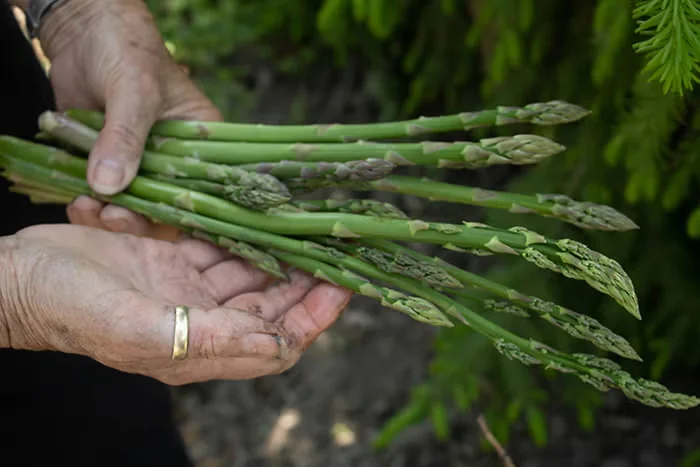
Grow Asparagus 'Millennium' for a Long-Lived Vegetable Crop
As vegetable gardeners, we're used to replanting our tomatoes, peas, beans, and greens fresh every spring. But some crops are…
Early Spring in the Vegetable Garden: Crops and Tasks
When spring finally shows up, I'm like most gardeners—itching to get my hands in the dirt. Don't get me wrong, I love my…