Whether you're breaking ground on your very first vegetable garden this spring or thinking about expanding the one you already have, you've got decisions to…
Whether you're breaking ground on your very first vegetable garden this spring or thinking about expanding the one you already have, you've got decisions to make. The first one? How to set up your garden—or your garden expansion. There are quite a few productive ways to grow your own food.
My first garden was a modest in-ground patch that, I'll admit, was on the weedy side—but those homegrown tomatoes, beans, and cucumbers tasted so good I was hooked. Since then I've grown vegetables in straw bales, hugelkultur beds, containers, and raised beds, all with great results.
Whatever method you pick, choose a spot that gets at least eight hours of direct sun each day. And if you're new to food gardening, start small. Give yourself a season or two to flex your green thumb and build your skills before diving into a big plot.
To help you start planning, let's walk through five techniques for growing food in just about any size space.
The in-ground vegetable garden
Planting vegetables right in the ground—often called a row garden—is the old-school way to grow food. You strip off the grass and weeds, work in compost or aged manure to build up the soil's fertility, and you're off.
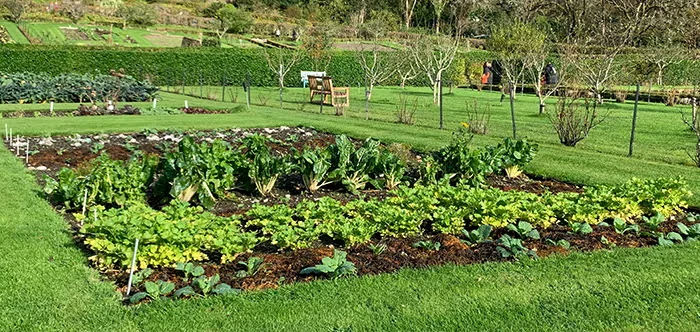
The biggest advantage here is cost—there's virtually no upfront investment. Plus, an in-ground garden generally needs less frequent watering than raised beds.
On the flip side, this kind of plot tends to need more maintenance. Plants at ground level are easier picking for insect pests and larger visitors like deer and rabbits. The soil warms up more slowly in spring and is more vulnerable to late frosts, so your season is a bit shorter. And weeds? They can be a real headache.
You can arrange an in-ground garden in long rows or divide it into beds. Either way, I recommend making pathways wide enough for a wheelbarrow and mulching them with straw to keep mud and weeds at bay.
Raised beds for vegetables
I switched to raised beds about 20 years ago when I moved to my current place. I started with four large free-formed beds, then eventually redesigned and expanded to 20 wood-edged raised beds—a mix of 4-by-8-foot and 4-by-10-foot boxes, each 16 inches tall.
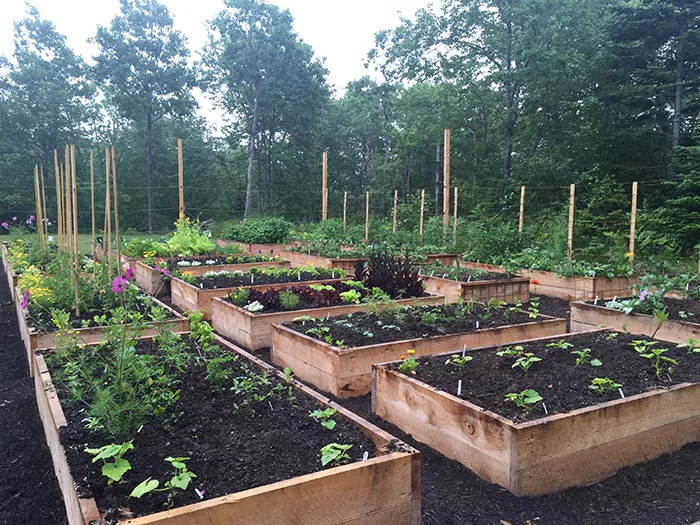
For me, raised beds have been way less work than my old in-ground gardens. Fewer weeds, the soil warms up earlier in spring for extra-early plantings, and since I never walk on it, compaction isn't an issue. Plus, raised beds let me plant intensively and squeeze every bit of productivity out of my square footage.
The trade-off was the upfront investment of materials and time to build and fill the beds. I used locally sourced untreated hemlock for my boxes. You can also edge beds with logs, stones, or pavers, or simply mound the soil for free-formed beds. Galvanized raised beds have gotten popular lately, and kits are easy to find at garden-supply stores.
Strawbale gardening
With its quick setup, generous yields, and sheer convenience, strawbale gardening—growing plants directly in bales of straw—has become a go-to method for a lot of folks. Bales work great for vegetables, herbs, and annual flowers, and you can plunk them down on a lawn, driveway, patio, or any sunny spot you've got.
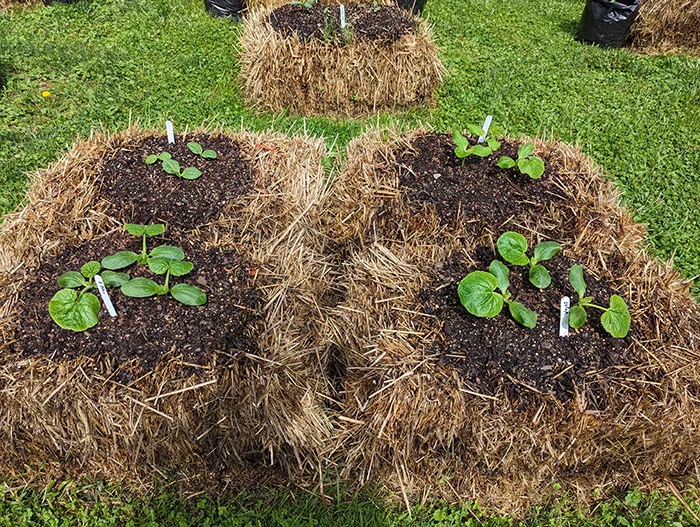
First step: buy the bales. Make sure you're getting straw, not hay. Straw is the stems and stalks of grain crops; hay contains seed heads—and usually weed seeds too. I also ask whether the bales are spray-free, because I don't want residual herbicides winding up in my vegetables.
To pack as many bales as possible into the site, I lay them on their sides with a long, narrow edge facing up. Once they're positioned, they need conditioning—about a 14-day process that jump-starts decomposition and creates a fertile planting pocket inside each bale.
Start by spreading one cup of a high-nitrogen fertilizer, like blood meal, evenly over the top of the bale, then water deeply to saturate it. The next day, water again. On day three, add another cup of fertilizer and water it in. Day four, just water. Repeat this pattern for a week. The second week, do the same thing but cut the fertilizer to a half cup each time.
Once they're conditioned, I tuck tomato, pepper, cucumber, pumpkin, and zucchini seedlings right into the tops of the bales. Keep an eye on moisture—water deeply when the bales feel dry. At season's end, I stack the half-rotted bales into a pile to compost down into a wonderful soil amendment.
Hugelkultur
Hugelkultur is an old-school technique rooted in no-dig and permaculture methods. It's a terrific way to grow vegetables and fruits like strawberries and blueberries.
The bed itself is a mound built from organic materials—logs, branches, leaves—covered with soil or compost and then planted. It takes years for the bed to break down, and as it does, it creates a nutrient-rich growing environment. It also holds water like a sponge, requiring little to no irrigation once it's established.
Before building, gather your materials and clear the area of weeds and stones. A common size is four by eight feet, but you can shape the bed to fit your site. When finished, it should stand three to four feet tall.
Start by laying the biggest pieces—logs and branches—across the space. Top that with smaller materials like twigs, leaves, and wood chips. Then add compost, rotted manure, or soil. Tuck your seedlings and plants into the bed and mulch with straw or shredded leaves.
You'll need to water during the first year, but once the bed starts breaking down, those organic materials inside act like a sponge, soaking up moisture. After that, you can skip irrigation except in a prolonged drought.
Read much more about hugelkultur.
Container gardening
Maybe the easiest way to dip your toe into food gardening is with pots, planters, window boxes, and other containers. You can even upcycle things like buckets—just be sure to drill drainage holes in the bottom so excess water can escape.
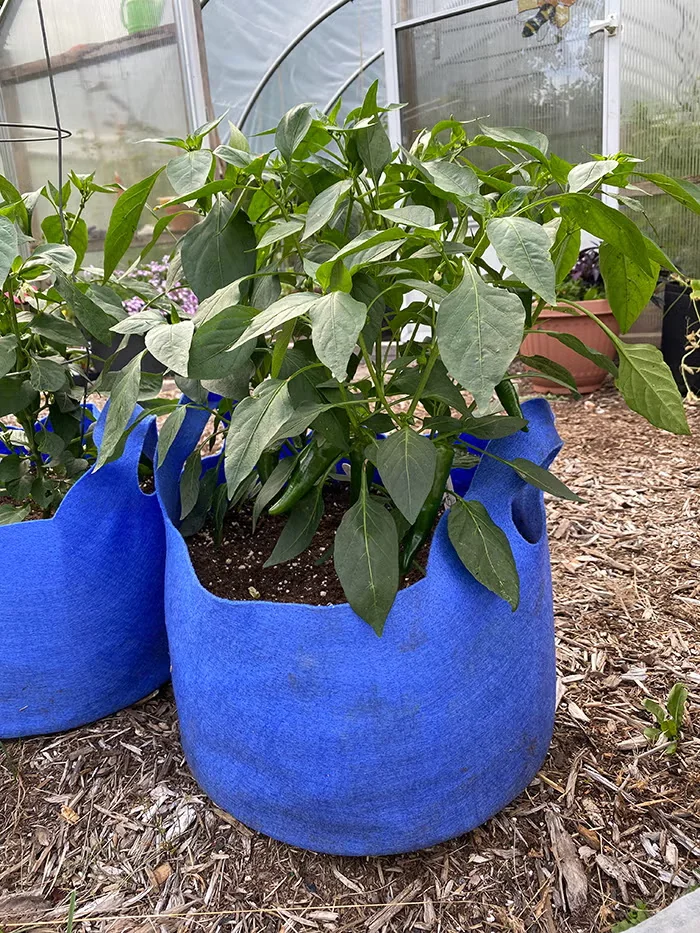
I'm a big fan of fabric pots. I use them on my sunny back deck and in my greenhouse for crops like tomatoes, peppers, and melons. They drain beautifully and air-prune the roots, which encourages a strong, fibrous root system. The catch? They dry out faster than plastic pots, so you'll be watering more often.
The beauty of container gardening is that it turns any sunny spot into a mini farm. The downside is the upfront cost of pots and potting mix. And containers dry out quicker than garden beds in the summer heat, so you'll need to stay on top of watering. Regular fertilizing is also a must to keep potted vegetables fueled up.
When you're ready to plant, fill containers with a mix of potting mix and compost—I go with two parts potting mix to one part compost—and either sow seeds or plug in transplants. Match the plant's mature size to the pot: bush-type tomatoes like 'Celebrity' or 'Tasmanian Chocolate' stay compact and are perfect for containers.
For a harvest that just keeps coming, pot up new containers of quick crops like bush beans and salad greens every couple of weeks throughout the season.
More from Vegetable
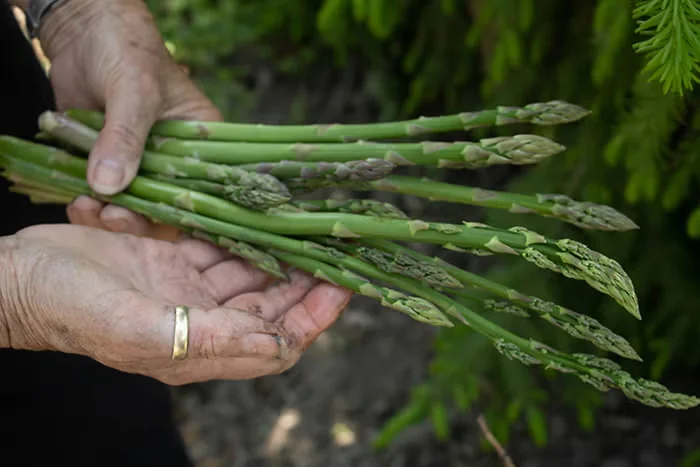
Grow Asparagus 'Millennium' for a Long-Lived Vegetable Crop
As vegetable gardeners, we're used to replanting our tomatoes, peas, beans, and greens fresh every spring. But some crops are…
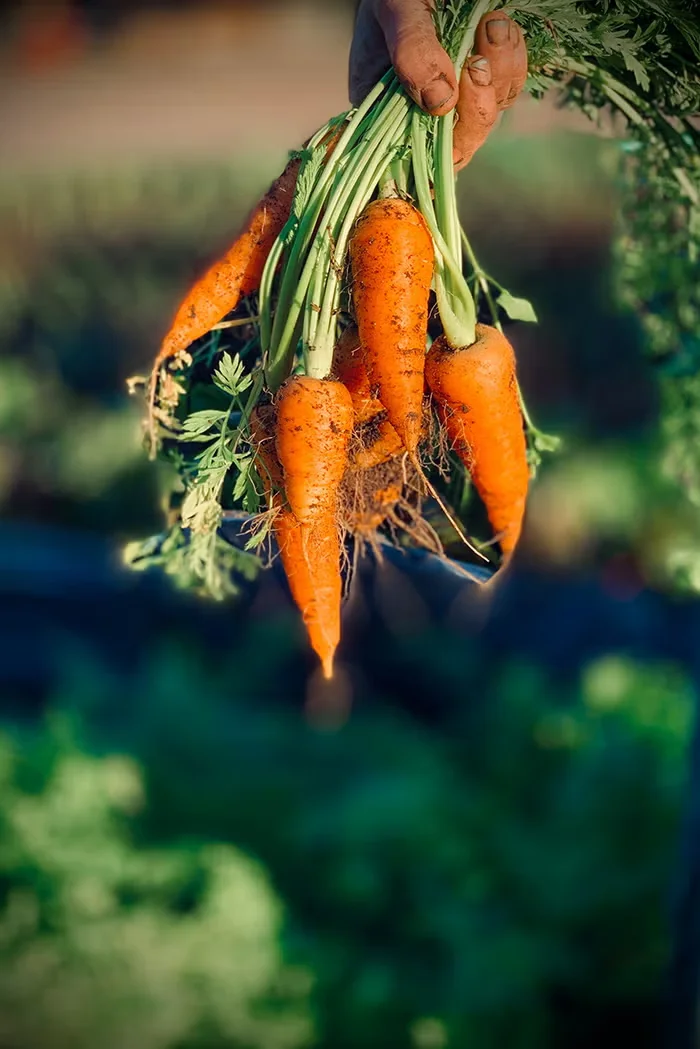
Early Spring in the Vegetable Garden: Crops and Tasks
When spring finally shows up, I'm like most gardeners—itching to get my hands in the dirt. Don't get me wrong, I love my…
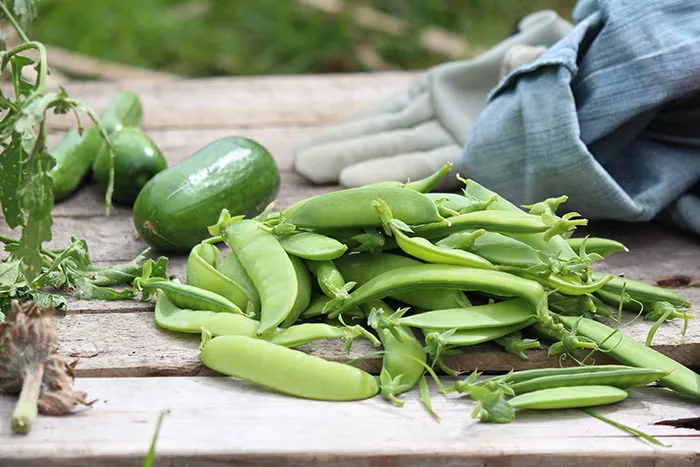
Plan Ahead for Your Vegetable Garden: 5 Tips
After years of gardening, I can tell you this for certain: a planting plan is worth its weight in gold. The time to make one is…