When I started my first vegetable garden over 30 years ago, I scratched my head over whether to plant seeds right in the ground, start them indoors on a…
When I started my first vegetable garden over 30 years ago, I scratched my head over whether to plant seeds right in the ground, start them indoors on a windowsill, or just go buy seedlings at the garden center. So many choices!
It didn't take long to figure out I didn't have to pick just one. Most vegetable gardeners use a mix of direct sowing and transplanting—matching the method to the crop and the length of the local growing season.
Tomatoes, for example, are almost always transplanted because the growing season in most of North America just isn't long enough for direct-sown plants to grow, flower, and ripen fruit. Spinach, on the other hand, is a quick green that resents being moved and should go straight into the garden as seed. Then there are the crops that play both ways—broccoli, cabbage, cucumber, kale, lettuce, and all kinds of squash can be direct sown or transplanted, depending on your situation.
Related: Learn about five types of vegetable gardens, from in-ground gardens to raised beds and everything in between, in"5 Techniques for Growing a Vegetable Garden"
Choosing the best method
How do you choose? When you're deciding whether to start seeds indoors or outdoors, the seed packet is your best friend. Most companies print planting tips right on the back to take the guesswork out of it. You'll also find recommendations on timing, spacing, and planting depth.
Seed packets and catalogs also list "days to maturity"—how long a plant takes to go from seed to harvest. To set yourself up for success, make sure the crops you choose have a days-to-maturity window that fits within your growing season.
Direct sowing: why and what
Direct sowing just means planting seeds outside in garden beds or containers. It's the most economical way to fill a vegetable garden, and it takes less hands-on effort than starting seeds indoors—plus it doesn't eat up any of your interior space. Direct seeding shines for crops that hate being moved, like spinach, and for quick growers like radishes and bush beans.
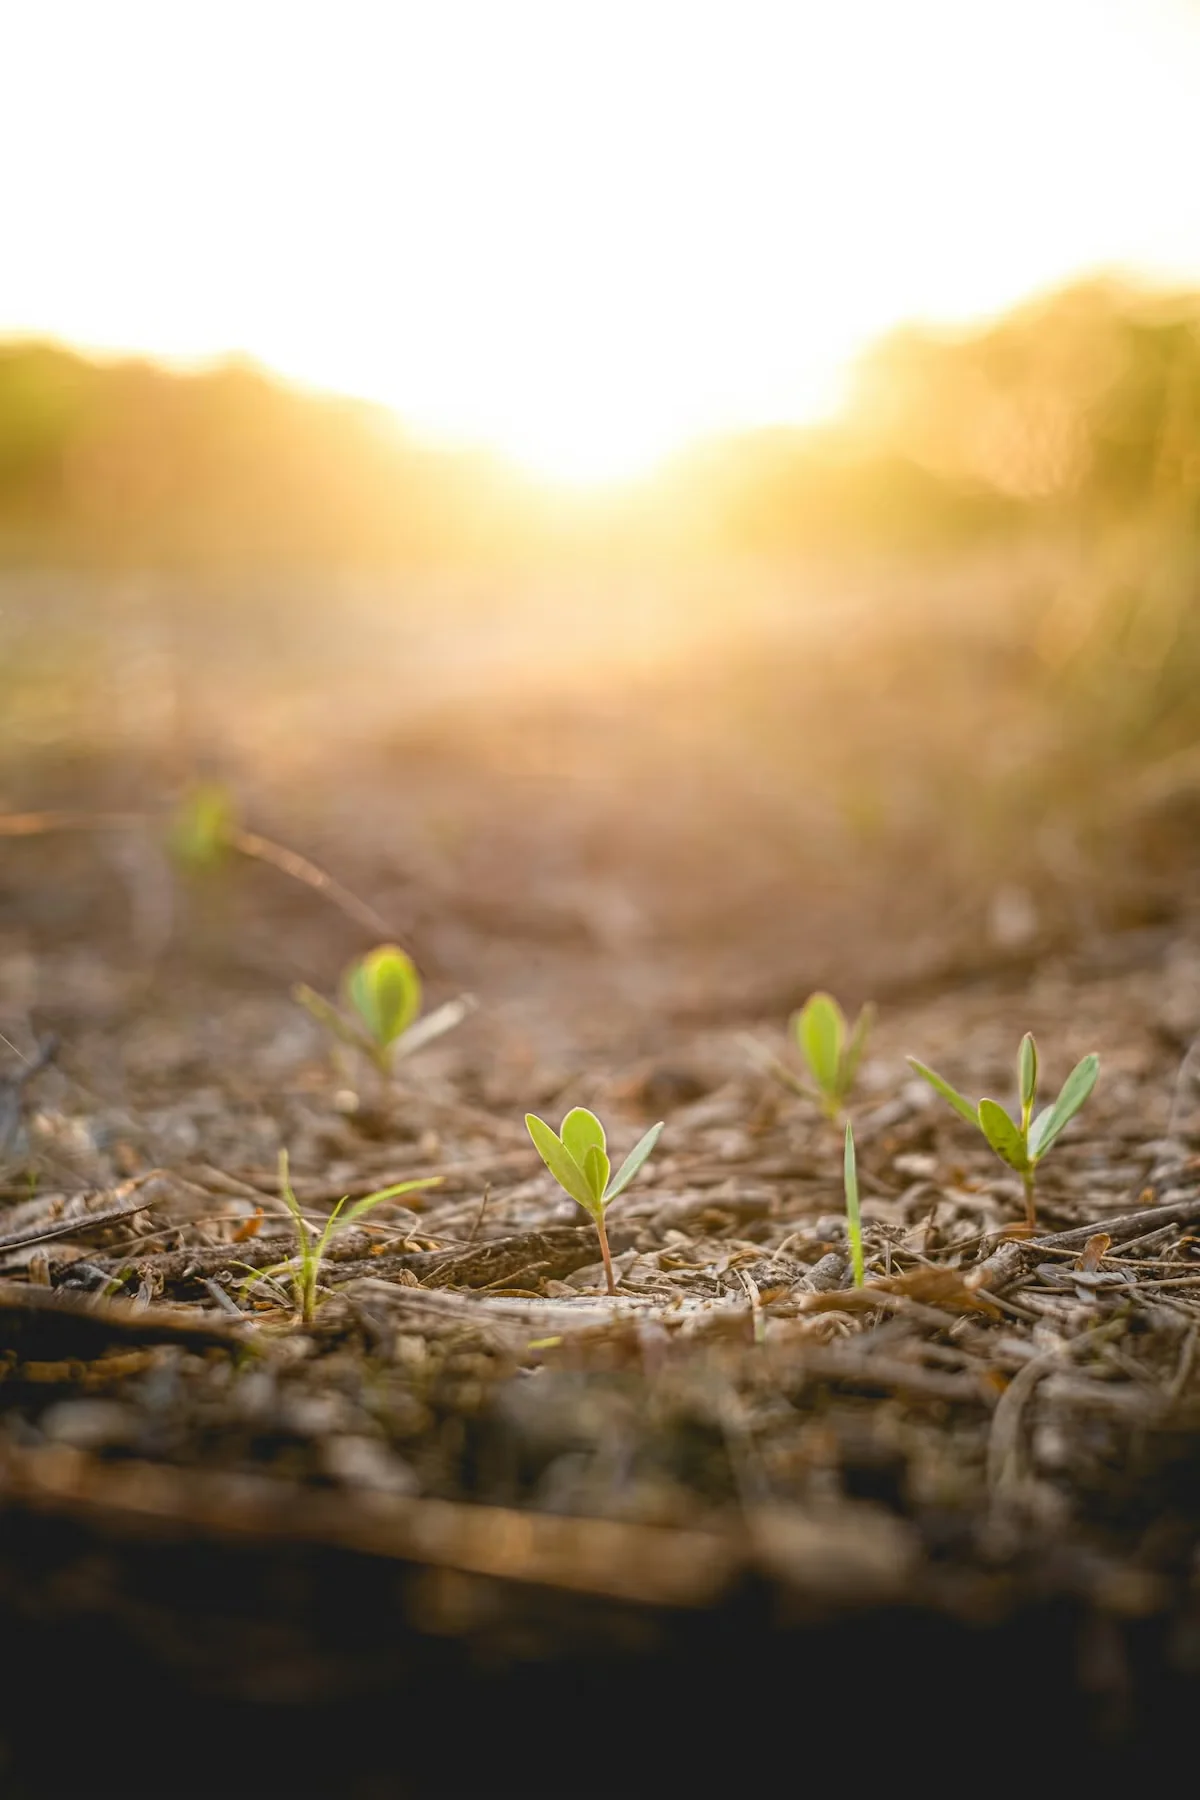
There are plenty of vegetables and herbs whose seeds should go right into the outdoor soil. Root crops like carrots, parsnips, turnips, and radishes, for starters, plus those that don't transplant well—spinach, corn, bush beans. I also like to direct sow fast-growing leafy greens because they go from seed to plate so quickly. My standbys are arugula, leaf lettuce, mustard, and mizuna. As for herbs, cilantro, dill, and borage seeds all go straight into the garden.
When to direct sow seeds
Timing depends on the crop. Pea seeds don't mind the cold—you can plant them in early spring as soon as the ground has thawed and is workable. Cucumbers, though, are warmth-lovers that should wait until after the last frost date, when the soil has warmed up.
Preparing the garden and direct sowing seeds
As planting time approaches, I get my beds ready. I pull any weeds and loosen the soil with a garden fork, then spread a one- to two-inch layer of compost or rotted manure over each raised bed. You might also want to work in an organic fertilizer before planting.
There are several ways to lay out directly sown seeds: rows, bands, or blocks. To plant a row or band, I use a garden hoe to scratch a furrow—a shallow trench—at the right depth. The general rule is to plant seeds two to three times as deep as their diameter. A tiny carrot seed barely gets covered—a quarter inch deep—while a bean seed goes in about a half-inch to one inch deep.
Drop the seeds into the furrow at the proper spacing, which should be on the seed packet. Since outdoor-sown seeds face more challenges from weather and pests than indoor-started ones, I always sow a few extra as insurance. If everything sprouts, you can always thin out the extras later.
Once the seeds are in place, gently push the excavated soil back over the furrow so they're at the correct depth. Water the bed and add a label—I jot down the crop type, variety name, and planting date.
After direct sowing
After sowing, a couple of follow-up tasks help germination along. First, stay on top of soil moisture—if those germinating seeds dry out, they're done for. I check my newly planted beds every single day and water when needed. The goal is keeping the soil lightly moist, never soggy.
Then there's thinning. When the seedlings are a couple of inches tall, thin them to the proper spacing by snipping off the extras at the soil surface. Don't yank them out—that can uproot nearby seedlings too. A quick snip with garden snips and you're done.
Transplanting: why and what
Now that we've covered direct sowing, let's talk about the other approach: transplanting. This is when you take a seedling that was started indoors weeks or even months earlier and move it out to the garden.
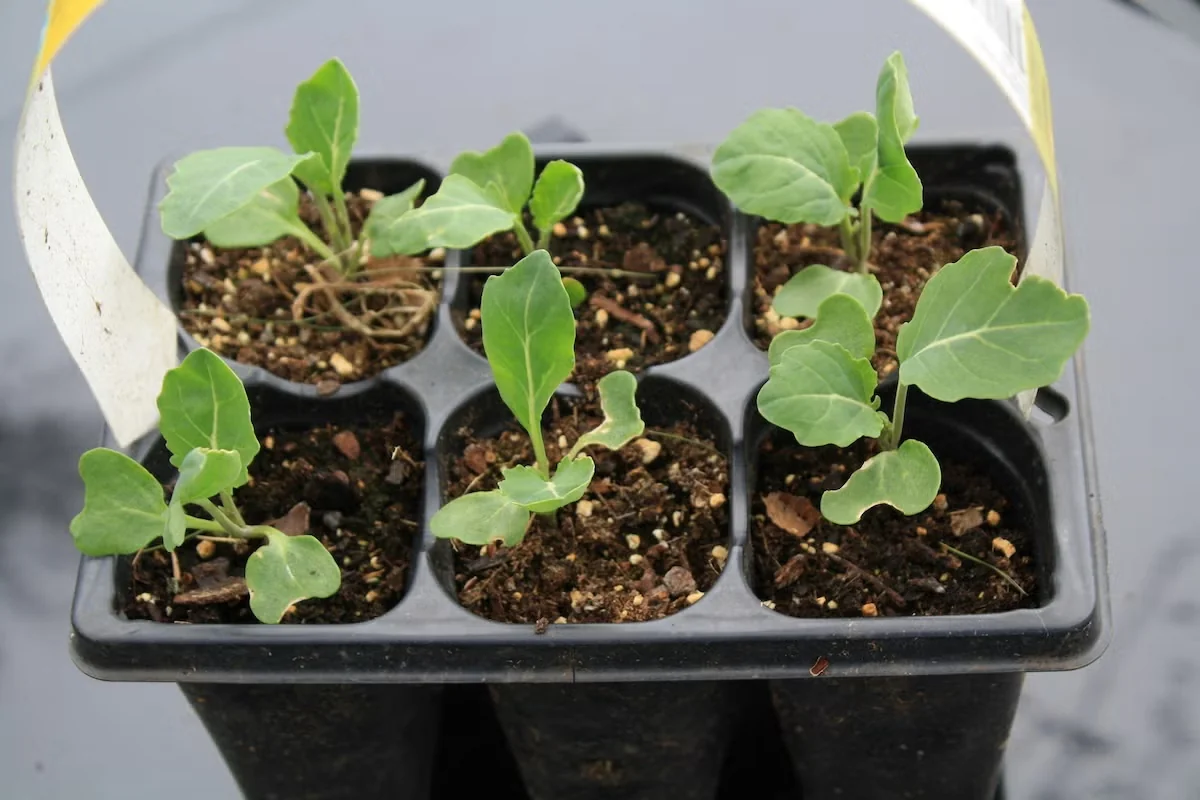
The biggest perk of transplanting is getting a head start on the season—ideal for long-season crops like tomatoes and peppers. Other crops that do best as transplants include celery, eggplant, onions, leeks, and melons.
Transplanting can also give you a more reliable, uniform harvest. Even though my growing season is long enough to direct sow cabbage and broccoli, I've found that the tiny seedlings are sitting ducks for fickle weather and pests like slugs. By starting the seeds indoors and putting sturdy young plants into the beds, I skip right past that vulnerable stage. The transplants grow at about the same rate, and I end up with a nice, consistent harvest.
And as a bonus, transplanting means less thinning later on, since you're setting seedlings out at the proper spacing to begin with.
Drawbacks of transplanting
That said, transplanting has its downsides. The biggest is the cost in time and resources. Start a lot of seeds indoors and you'll need plenty of windowsill or grow-light space to keep them healthy. Buying seedlings from a nursery or garden center can get expensive fast. That's why I use both methods in my garden—I transplant the long-season and heat-loving crops, and direct sow root vegetables and quick growers.
Tips for transplanting young vegetable plants
If you started your own seeds indoors, begin hardening off the seedlings about a week before moving them outside. This gradually acclimates them to sun, wind, and the other realities of outdoor life.
If you're buying seedlings from a nursery, they're usually already hardened off and good to go. Pick plants that look vigorous, uniform in size and color, and pest-free. Steer clear of overly mature seedlings that are already flowering or setting fruit—they won't settle in as well.
I like to transplant on a cloudy or drizzly day, or later in the afternoon. It reduces stress on the plants and helps them settle in. As with direct seeding, prep the site first—pull weeds and work in compost or rotted manure. I also recommend giving your seedlings a good watering a few hours before planting time.
Gently slip the seedling from its pot or cell pack. Don't grab it by the stem—that can damage the delicate young plant. If the seedlings are in biodegradable containers, either plant the whole pot deep enough that the rim sits below soil level, or peel the pot away from the root ball before setting it in the ground.
Dig the planting hole just a bit larger than the root ball. Most vegetables go in at the same depth they were growing in their pots, but there are exceptions: tomatoes and tomatillos can be planted deep. They'll grow roots all along the buried stem, giving you a much sturdier root system.
Set the seedling in the hole, refill with the excavated soil, and gently firm it around the plant. Water well to eliminate air pockets around the roots and keep the little plants hydrated. Keep watering every day or two if it's dry for the first 7 to 10 days as they get established.
More from Direct
Compact Edible Plants for Small-Space Gardens
Picture this: you're on your back patio, and you reach over to pluck a sun-warmed cherry tomato from a plant barely eight inches…
Uncommon Herbs to Grow at Home
Most of us, when we think of culinary herbs, automatically picture the Mediterranean staples: basil, mint, oregano, thyme, sage,…
Grow Blueberries and Their Relatives to Benefit the Garden and Your Health
Isn't it something how the simple things we love as kids end up opening into whole worlds of discovery as we get older?…